Tolerances refinement is a well-known concept for manufacturers in the aerospace industry. This new reality has a direct impact on how they do things. To succeed reaching new market standards, an upgrading of their plants and equipment is inevitable.
Impacts of Tolerances Refinement
Contributed by | AV&R Aerospace
Reprinted with permission from the AV&R Aerospace blog:
Tolerances Refinement, Why?
For airlines, fuel consumption is an important issue. Saving money is a priority. Manufacturing engines consuming less fuel is the embraced solution. One of the main methods to achieve this objective is to improve the aerodynamics on blades and vanes – key parts of the jet engine – by using tighter tolerances and more complex 3D elliptical profiles. This issue pushed the motorists to improve the precision of their manufacturing processes.

Over the past few years, there has been a significant increase in jet engine performance requirements. The first generation of blades and vanes required elliptical profiles (leading and trailing edges) reaching an accuracy of 100 microns. With the current generation, profile requirements are about 37.5 microns, with a possibility of shape tolerance of 12.5 microns.
The more aerodynamic parts thus produced a marked reduction in CO2 and NOx emissions. In addition, this provides the desired advantage of significant fuel savings for airlines. It is therefore a key differentiator for manufacturers who follow suit.
A Cambridge University study* shows that approximately 1.3% fuel economy is achieved by improving all the elliptical profiles (leading edges) of an engine’s compressor blades.
Repercussions
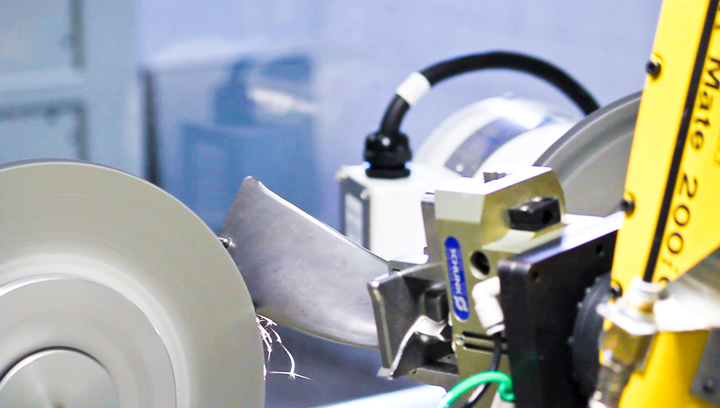
One of the major impacts of this tolerances refinement is that the manual surface finishing process performed on parts, such as blades and vanes, is no longer viable. Consequently, this change directly influences the way engine manufacturers work. Automating the surface finishing process therefore becomes the recommended solution, and in many cases, even mandatory.

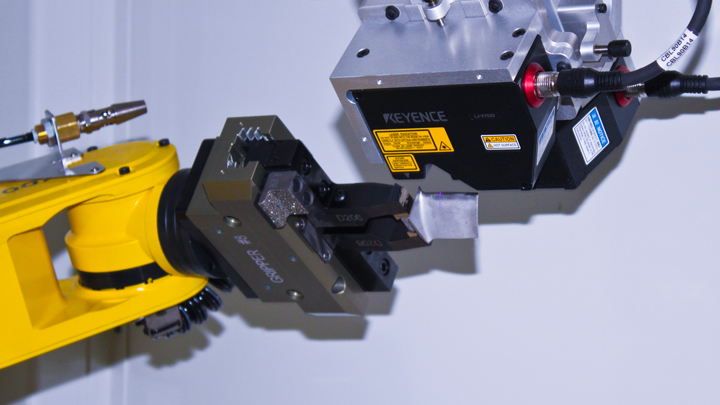
In addition to being crucial, the automation used to carry out this process must be technologically advanced. Less complex solutions that could previously be used are no longer adequate. An adaptive solution (for further details, refer to this article) including a vision system becomes a must to reach tighter tolerances. Input data collected at the beginning with the vision system is a necessity. It takes measurements of critical features of the part in order to determine its geometry and dimensions before the finishing process. With this accurate part data, the system computes exact finishing parameters to obtain precise results. In addition, part inspection executed at the end of the surface finishing process ensures that it is within the required tolerances. These two steps are therefore essential to improve the aerodynamics of the parts.
The choice of the vision system integrated into the automated solution also has an impact; it must be technologically advanced to enable the necessary validations at the beginning and at the end of the process.
The quality of the parts naturally improved from this tolerances refinement. A study achieve by Lufthansa Technik shows that better profiles on parts improve performance, fuel consumption and prolong lifespan by 25%.

Industry 4.0
With this fourth industrial revolution in progress, the era of the innovative manufacturer is upon us. Motorists must increase their technological capacities to strategically position themselves in the market. Plants will increasingly need to be automated, technologically advanced, and information-sharing. This revolution is fundamentally characterized by interconnecting intelligent automation and integration of new technologies in the workplace.
The addition of vision and data analysis solutions in an automated system makes it possible to collect relevant information on parts, which is consistent with the 4.0 concept. The data collection allows to be more efficient and to further improve the quality of the parts. Moreover, by taking the data history into account, adjustments to the previous manufacturing steps become possible.
Moving Ahead
All these changes are moving in the same direction: automating and creating smart plants for the manufacturers. In our next article, we will discuss how to successfully implement automation in a plant.
The content & opinions in this article are the author’s and do not necessarily represent the views of RoboticsTomorrow
Featured Product

